How to Configure Appointment Booking
Follow these first steps after logging in to configure your appointment booking.

01Login and Access Dashboard
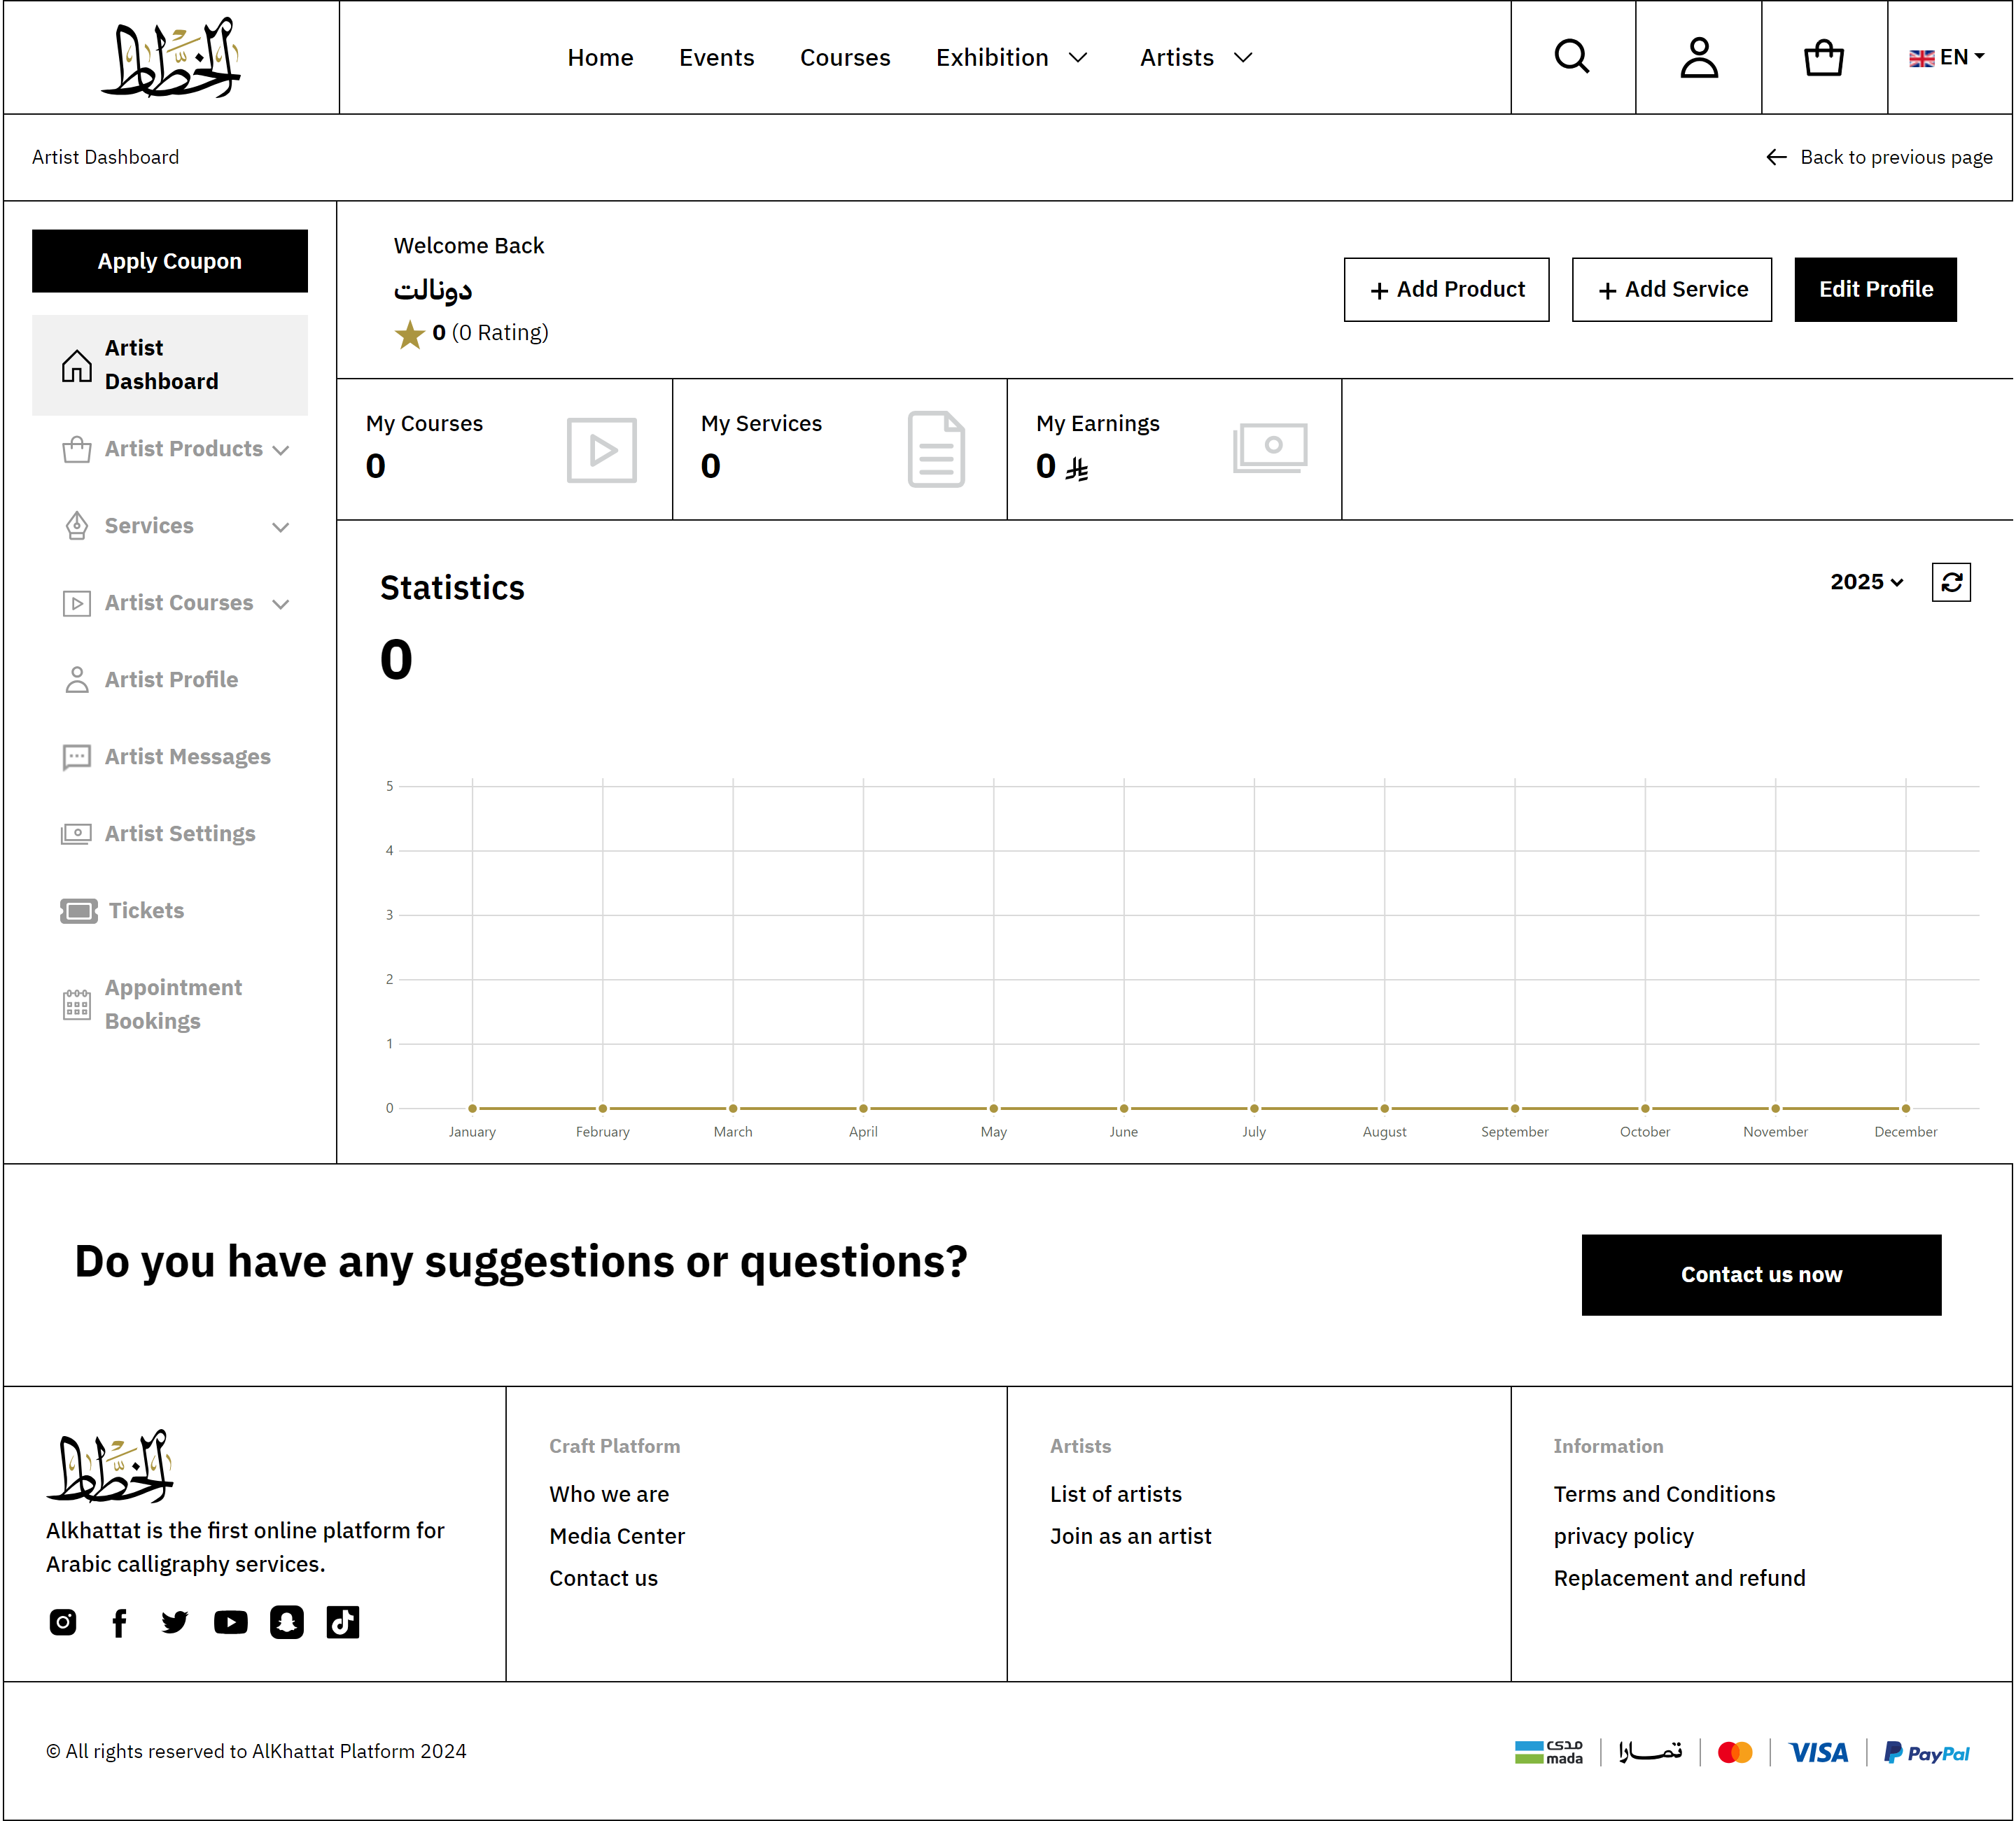
Once the artist logs in, they will be redirected directly to their Artist Dashboard, where different configuration options are visible.
02Explore Dashboard Options
On the left-side menu bar, multiple options like Profile, Courses, and Artist Settings are available. From here, you can manage your account and services.
01Open Artist Settings
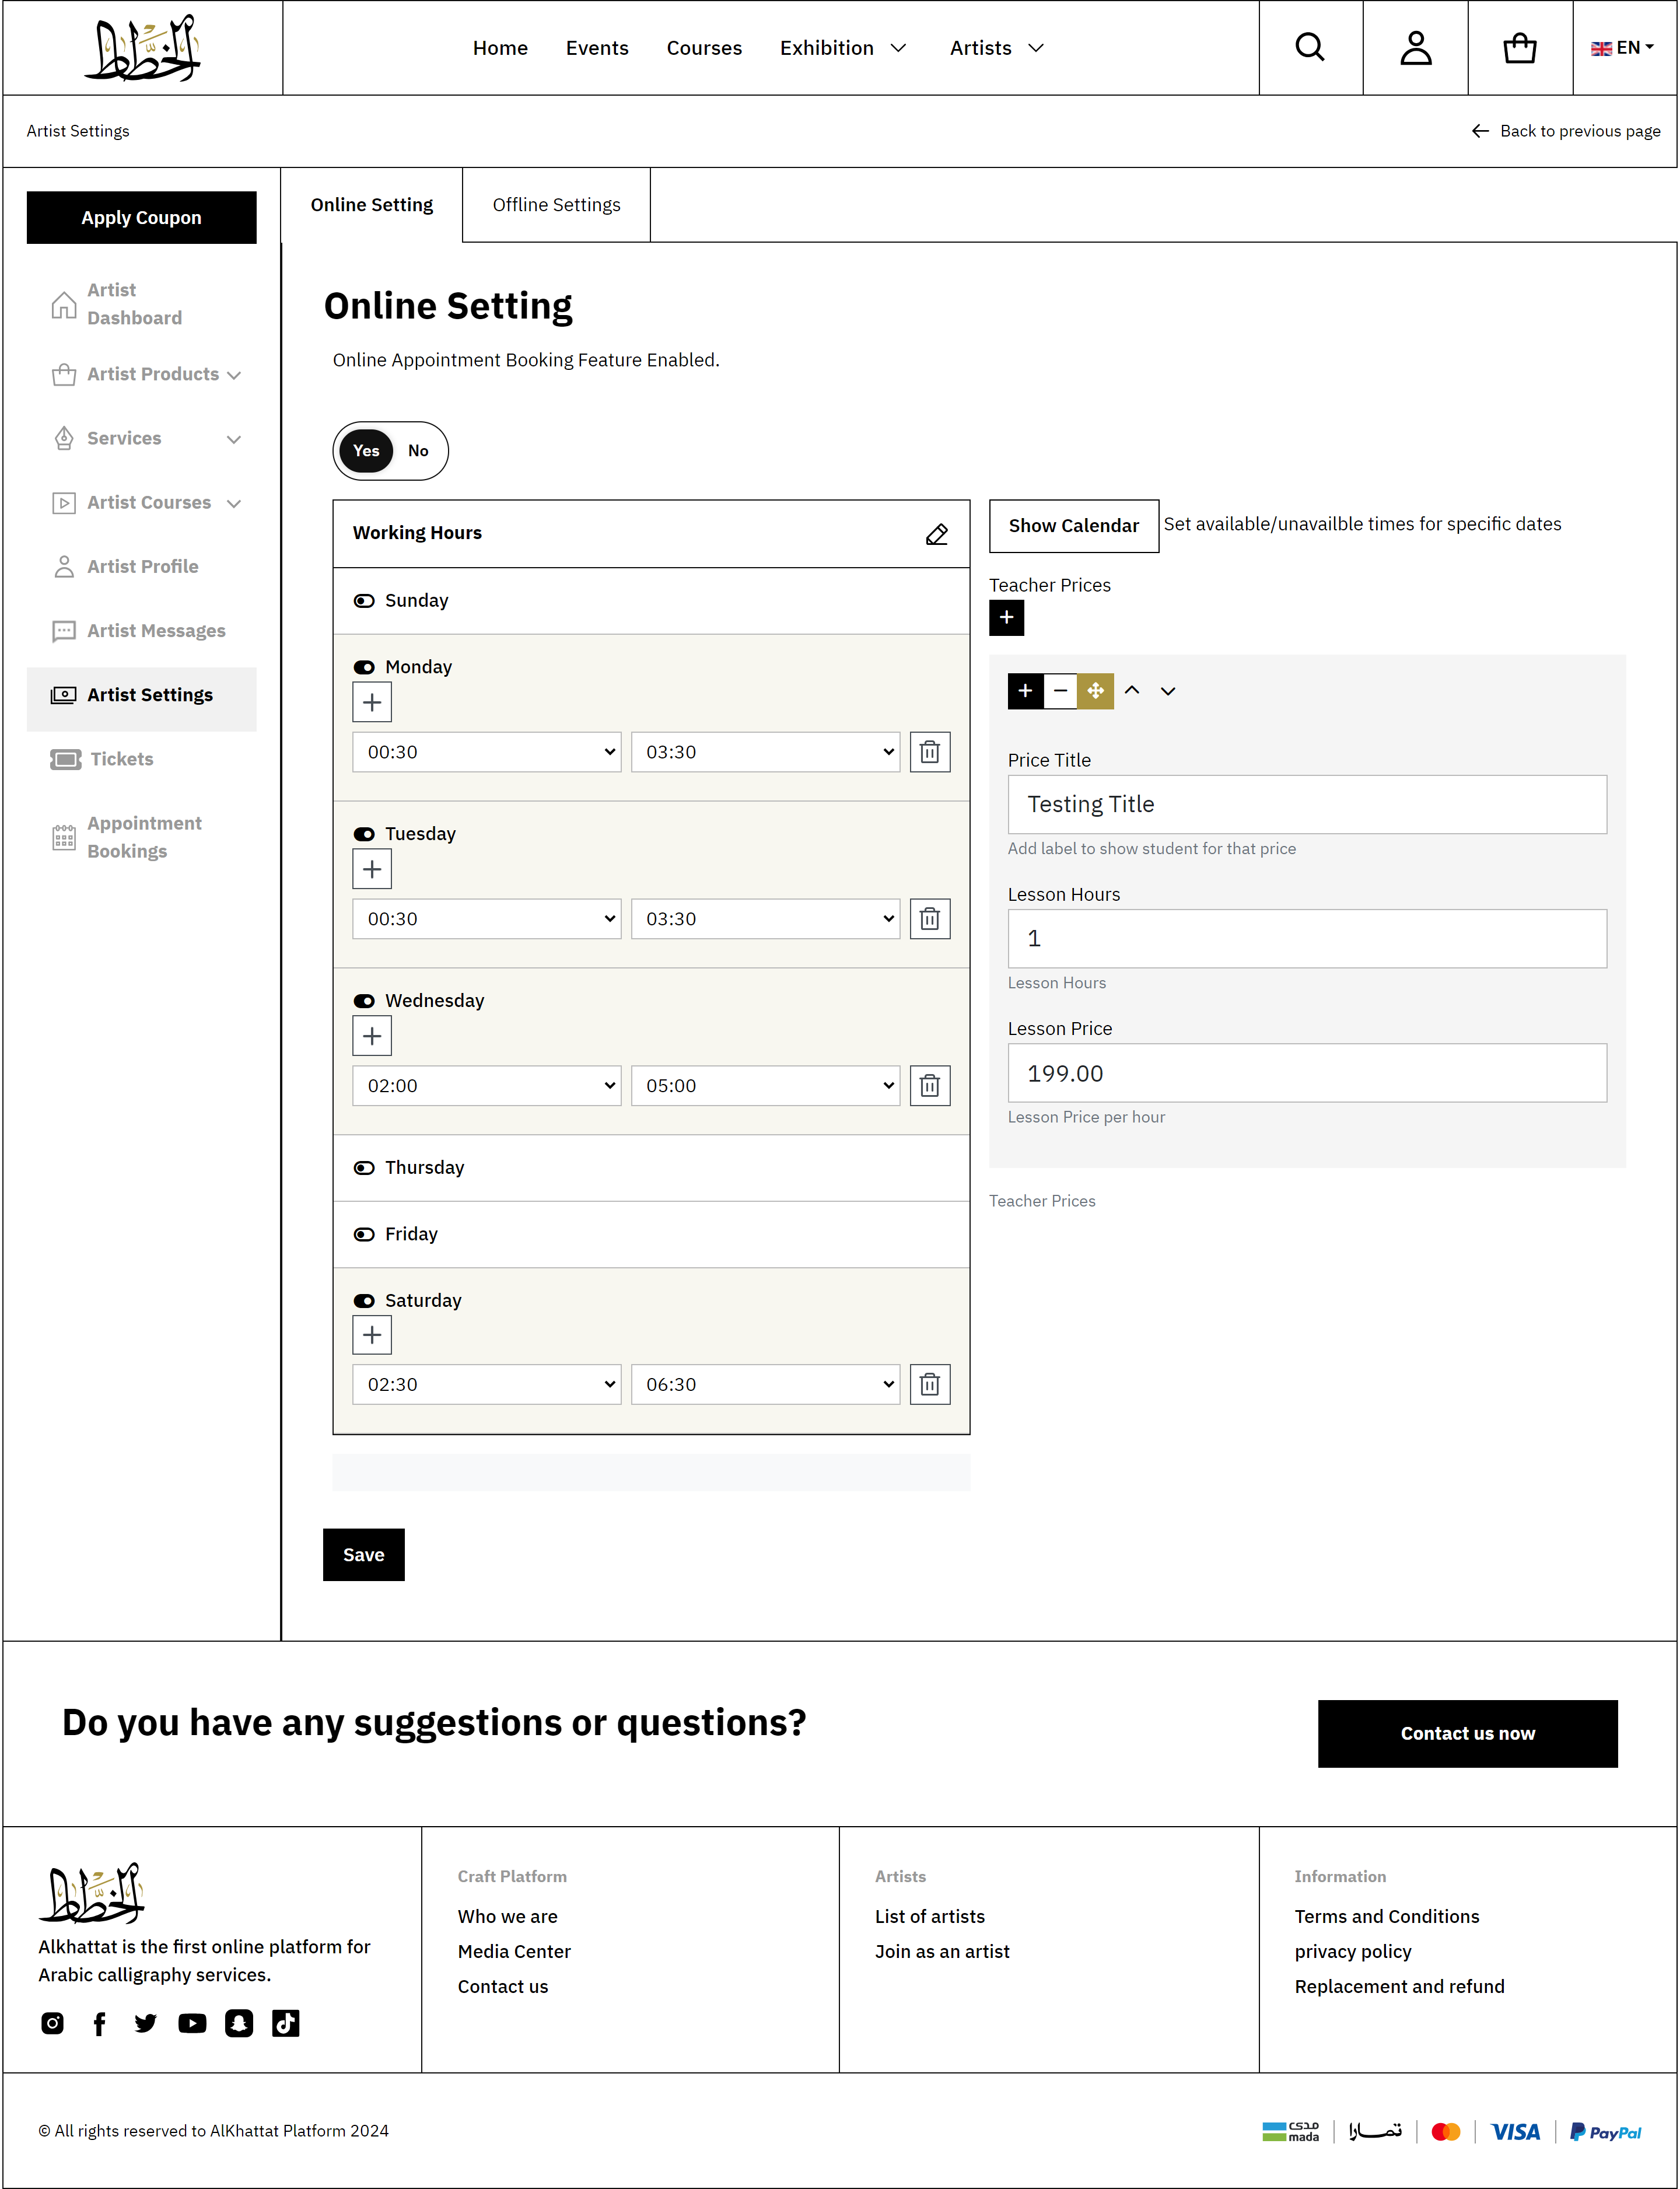
After login, go to your Artist Dashboard. From the left-side menu, click on Artist Settings. The Appointment Settings page will open.
02Enable Appointment Booking
On the Online Settings tab, turn the toggle button to Yes. This activates the appointment feature.
03Set Your Working Hours
Add available days and time slots when you are free for appointments.
• Monday → 00:30 - 03:30
• Tuesday → 00:30 - 03:30
• Wednesday → 00:00 - 05:00
• Saturday → 00:30 - 06:30
04Add Appointment Prices
Enter lesson details in the Teacher Prices section.
• Price Title → Testing Title
• Lesson Hours → 1
• Lesson Price → 199.00
05Save Settings
After adding your working hours and prices, click the Save button. Your appointment configuration will be saved successfully.


06Appointment Tab Visibility
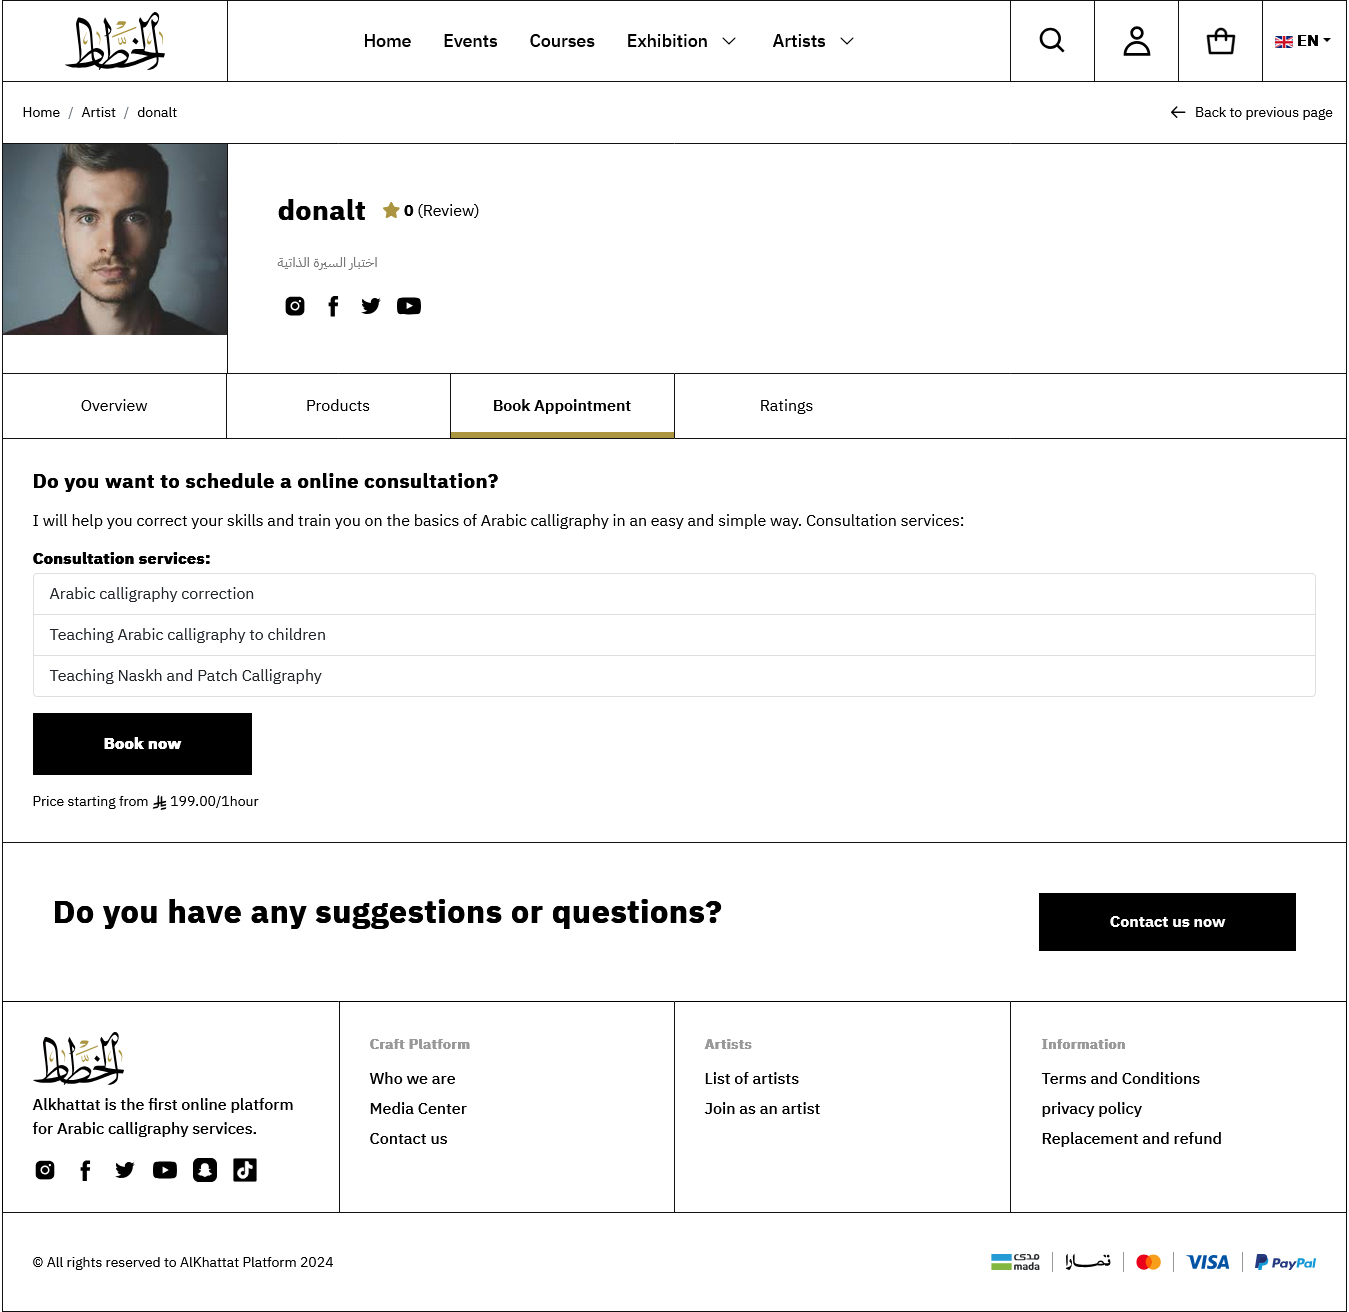
Once settings are saved, visitors to your artist profile will see an Appointment Booking Tab. They can now book appointments with you (paid or free as per your setup).
If you do not enable and configure these settings, this tab will not be visible to users.


 EN
EN